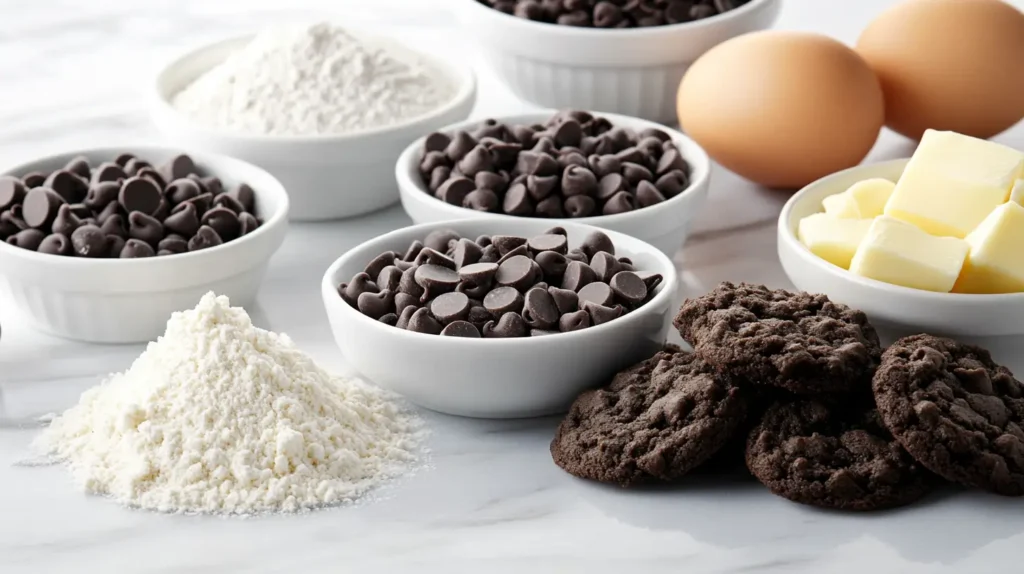
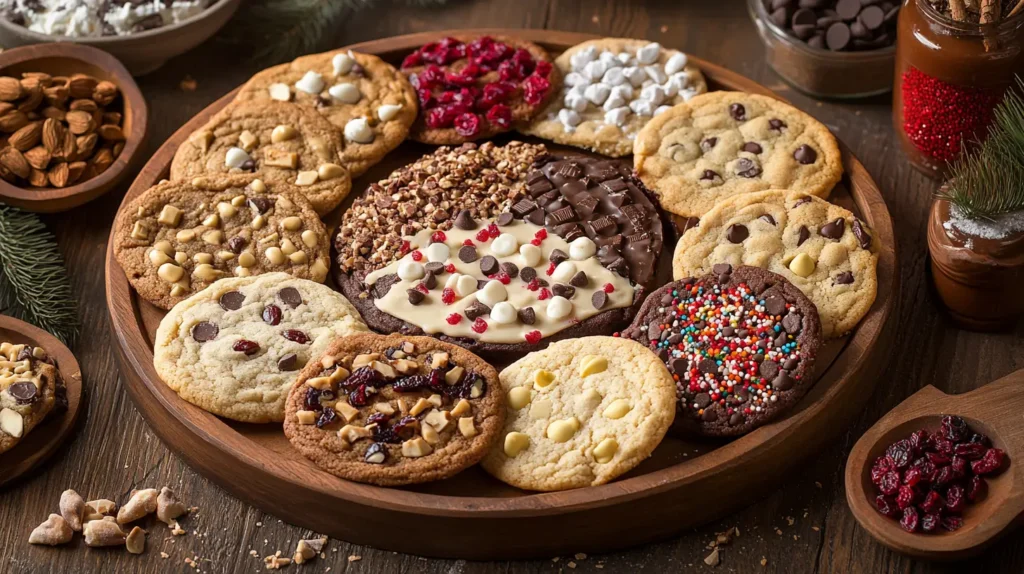
After years of baking (and plenty of trial and error), I’ve perfected my approach to the classic Nestlé chocolate chip cookie. These cookies have been my go-to for everything from bake sales to midnight cravings, and I’m sharing all my secrets with you today.
Table of Contents
Why I Keep Coming Back to This Recipe
I’ve tried countless cookie recipes over the years, but I always return to the Nestlé classic. There’s something magical about that first bite – crispy edges giving way to a soft, chewy center with melted chocolate pockets throughout. Pure bliss!
What makes this recipe so special isn’t just the taste, but how foolproof it is. Even when my sister (who burns microwave popcorn) follows this recipe, the cookies turn out delicious. That’s saying something!
Last Christmas, I made these alongside those layered Jello desserts my mom loves, and guess which plate emptied first? The cookies didn’t stand a chance.
What You’ll Need

The Dry Team
- 2¼ cups all-purpose flour – I’ve tried fancy flours, but honestly, regular all-purpose works perfectly
- 1 teaspoon baking soda – This is your fluffiness factor
- 1 teaspoon salt – Don’t skip this! It’s the secret to balanced sweetness
The Wet Squad
- 1 cup (2 sticks) unsalted butter, softened – Room temperature is crucial here
- ¾ cup granulated sugar – The white stuff
- ¾ cup packed brown sugar – I prefer dark brown for extra flavor
- 1 teaspoon vanilla extract – Spring for the real stuff if you can
- 2 large eggs – Farm-fresh makes a difference, but store-bought work fine
The Stars of the Show
- 2 cups Nestlé Toll House Semi-Sweet Chocolate Chips – Accept no substitutes
- 1 cup chopped nuts (optional) – Walnuts are traditional, but pecans are my personal favorite
My Must-Have Tools
After making these cookies hundreds of times, I’ve found these tools make the job so much easier:
- Two mixing bowls – One for wet, one for dry ingredients
- Electric mixer – You can mix by hand, but your arm will hate you
- Rubber spatula – Perfect for scraping every bit of goodness from the bowl
- Cookie scoop – Game-changer for uniform cookies (I was using spoons for years like a caveman)
- Parchment paper – Trust me, cleanup will be so much easier
- Cooling rack – Prevents soggy bottoms (nobody wants that)
Let’s Make Some Magic!
1. Get That Oven Ready
Preheat to 375°F. I learned the hard way that opening the oven door to check if it’s “hot enough” doesn’t work. Give it a good 15 minutes to reach temperature.
2. Mix Your Dry Ingredients
In a medium bowl, whisk together the flour, baking soda, and salt. This step seems boring but it ensures everything gets distributed evenly. Set this aside.
3. The Creaming Method
This is where the magic happens! In your larger bowl, beat the softened butter, granulated sugar, and brown sugar until it’s light and fluffy. This usually takes me about 2-3 minutes with my electric mixer.
Pro tip: Your butter should be soft enough that your finger leaves an indent, but not so soft that it’s melting or greasy.
4. Add Some Moisture
Beat in the eggs one at a time, then add the vanilla. The mixture might look a little weird and curdled – that’s totally normal! It’ll come together in the next step.
5. Combine Wet and Dry
Add your flour mixture to the butter mixture gradually. I usually do this in three batches. Mix just until the flour disappears – overmixing is the enemy of tender cookies!
6. The Good Stuff
Gently fold in the chocolate chips and nuts (if using). I sometimes hold back a handful of chips to press into the tops of the cookies before baking. It makes them look extra chocolatey and professional.
7. Scoop and Bake
Drop rounded tablespoons of dough onto your parchment-lined baking sheets, about 2 inches apart. They will spread!
Bake for 9-11 minutes. This is controversial, but I pull mine out when the edges are golden but the centers still look slightly underdone. They’ll finish cooking on the hot baking sheet.
Let them cool on the sheet for 2 minutes (I time this – it matters!), then transfer to a cooling rack.

Make Them Your Own
The beauty of this recipe is how easily you can customize it. Here are some variations I’ve tried and loved:
Mix-In Madness
- White chocolate chips and dried cranberries for a holiday twist
- Mini M&Ms for my kids’ birthday parties
- Chopped Andes mints for that chocolate-mint magic
- Toffee bits and toasted pecans (my personal favorite)
Texture Tweaks
If you like super soft cookies, use more brown sugar than white and underbake slightly.
For crispier cookies (my husband’s preference), use more white sugar and bake a minute or two longer.
My Hard-Earned Wisdom
After years of making these cookies, here’s what I’ve learned:
Chill That Dough!
When I have time, I refrigerate the dough for at least 30 minutes (sometimes overnight). This prevents spreading and deepens the flavor. Game-changer!
One Sheet at a Time
I know it’s tempting to fill your oven with multiple trays, but baking one sheet at a time in the center of the oven gives the most consistent results.
Measure Like You Mean It
Fluff your flour before measuring, then spoon it into your measuring cup and level it off. Scooping directly from the bag compacts the flour and can make your cookies tough.
Mistakes I’ve Made So You Don’t Have To
The Overmixing Trap
When I first started baking, I’d mix and mix until everything was super smooth. Big mistake! Now I stop as soon as the flour disappears into the dough.
The Hot Kitchen Problem
During summer, my kitchen gets super hot. The dough gets soft, and the cookies spread like crazy. Solution: chill the dough and the baking sheets!
Storage Solutions
Fresh Batch
Store in an airtight container with a slice of bread to keep them soft. They’ll last about a week, though they never make it that long in my house.
Freezer Friends
I always make a double batch and freeze half the dough in pre-portioned balls. Just add 1-2 minutes to the baking time when cooking from frozen. Perfect for unexpected guests or midnight cravings!
Why This Recipe Has Stood the Test of Time
In a world of fancy, complicated desserts, there’s something comforting about a classic chocolate chip cookie. It’s the first thing I taught my daughter to bake, just like my mom taught me.
There’s a reason this recipe has been printed on Nestlé chocolate chip bags for generations – it works, it’s delicious, and it creates moments that matter.
Final Thoughts
Baking is about more than just following a recipe – it’s about creating moments and memories. Some of my favorite family conversations have happened around a plate of these cookies and cold glasses of milk.
So preheat that oven, grab your mixing bowls, and create some cookie magic. I’d love to hear how they turn out for you!
Quick Answers to Common Questions
Can I freeze the dough?
Absolutely! I form the dough into balls, freeze them on a baking sheet, then transfer to a freezer bag. They’ll keep for about 3 months.
Why are my cookies too flat?
Likely culprits: butter that’s too warm, not enough flour, or a hot kitchen. Try chilling the dough for 30 minutes before baking.
Can I substitute chocolate chunks?
You bet! I sometimes chop up a fancy chocolate bar instead of using chips. The irregular pieces create pockets of chocolate throughout.
Do I really need to use parchment paper?
No, but it makes life so much easier. If you don’t have any, just lightly grease your baking sheets.

